Your Assistants
Create assistants for your organization to automate important tasks and improve productivity.
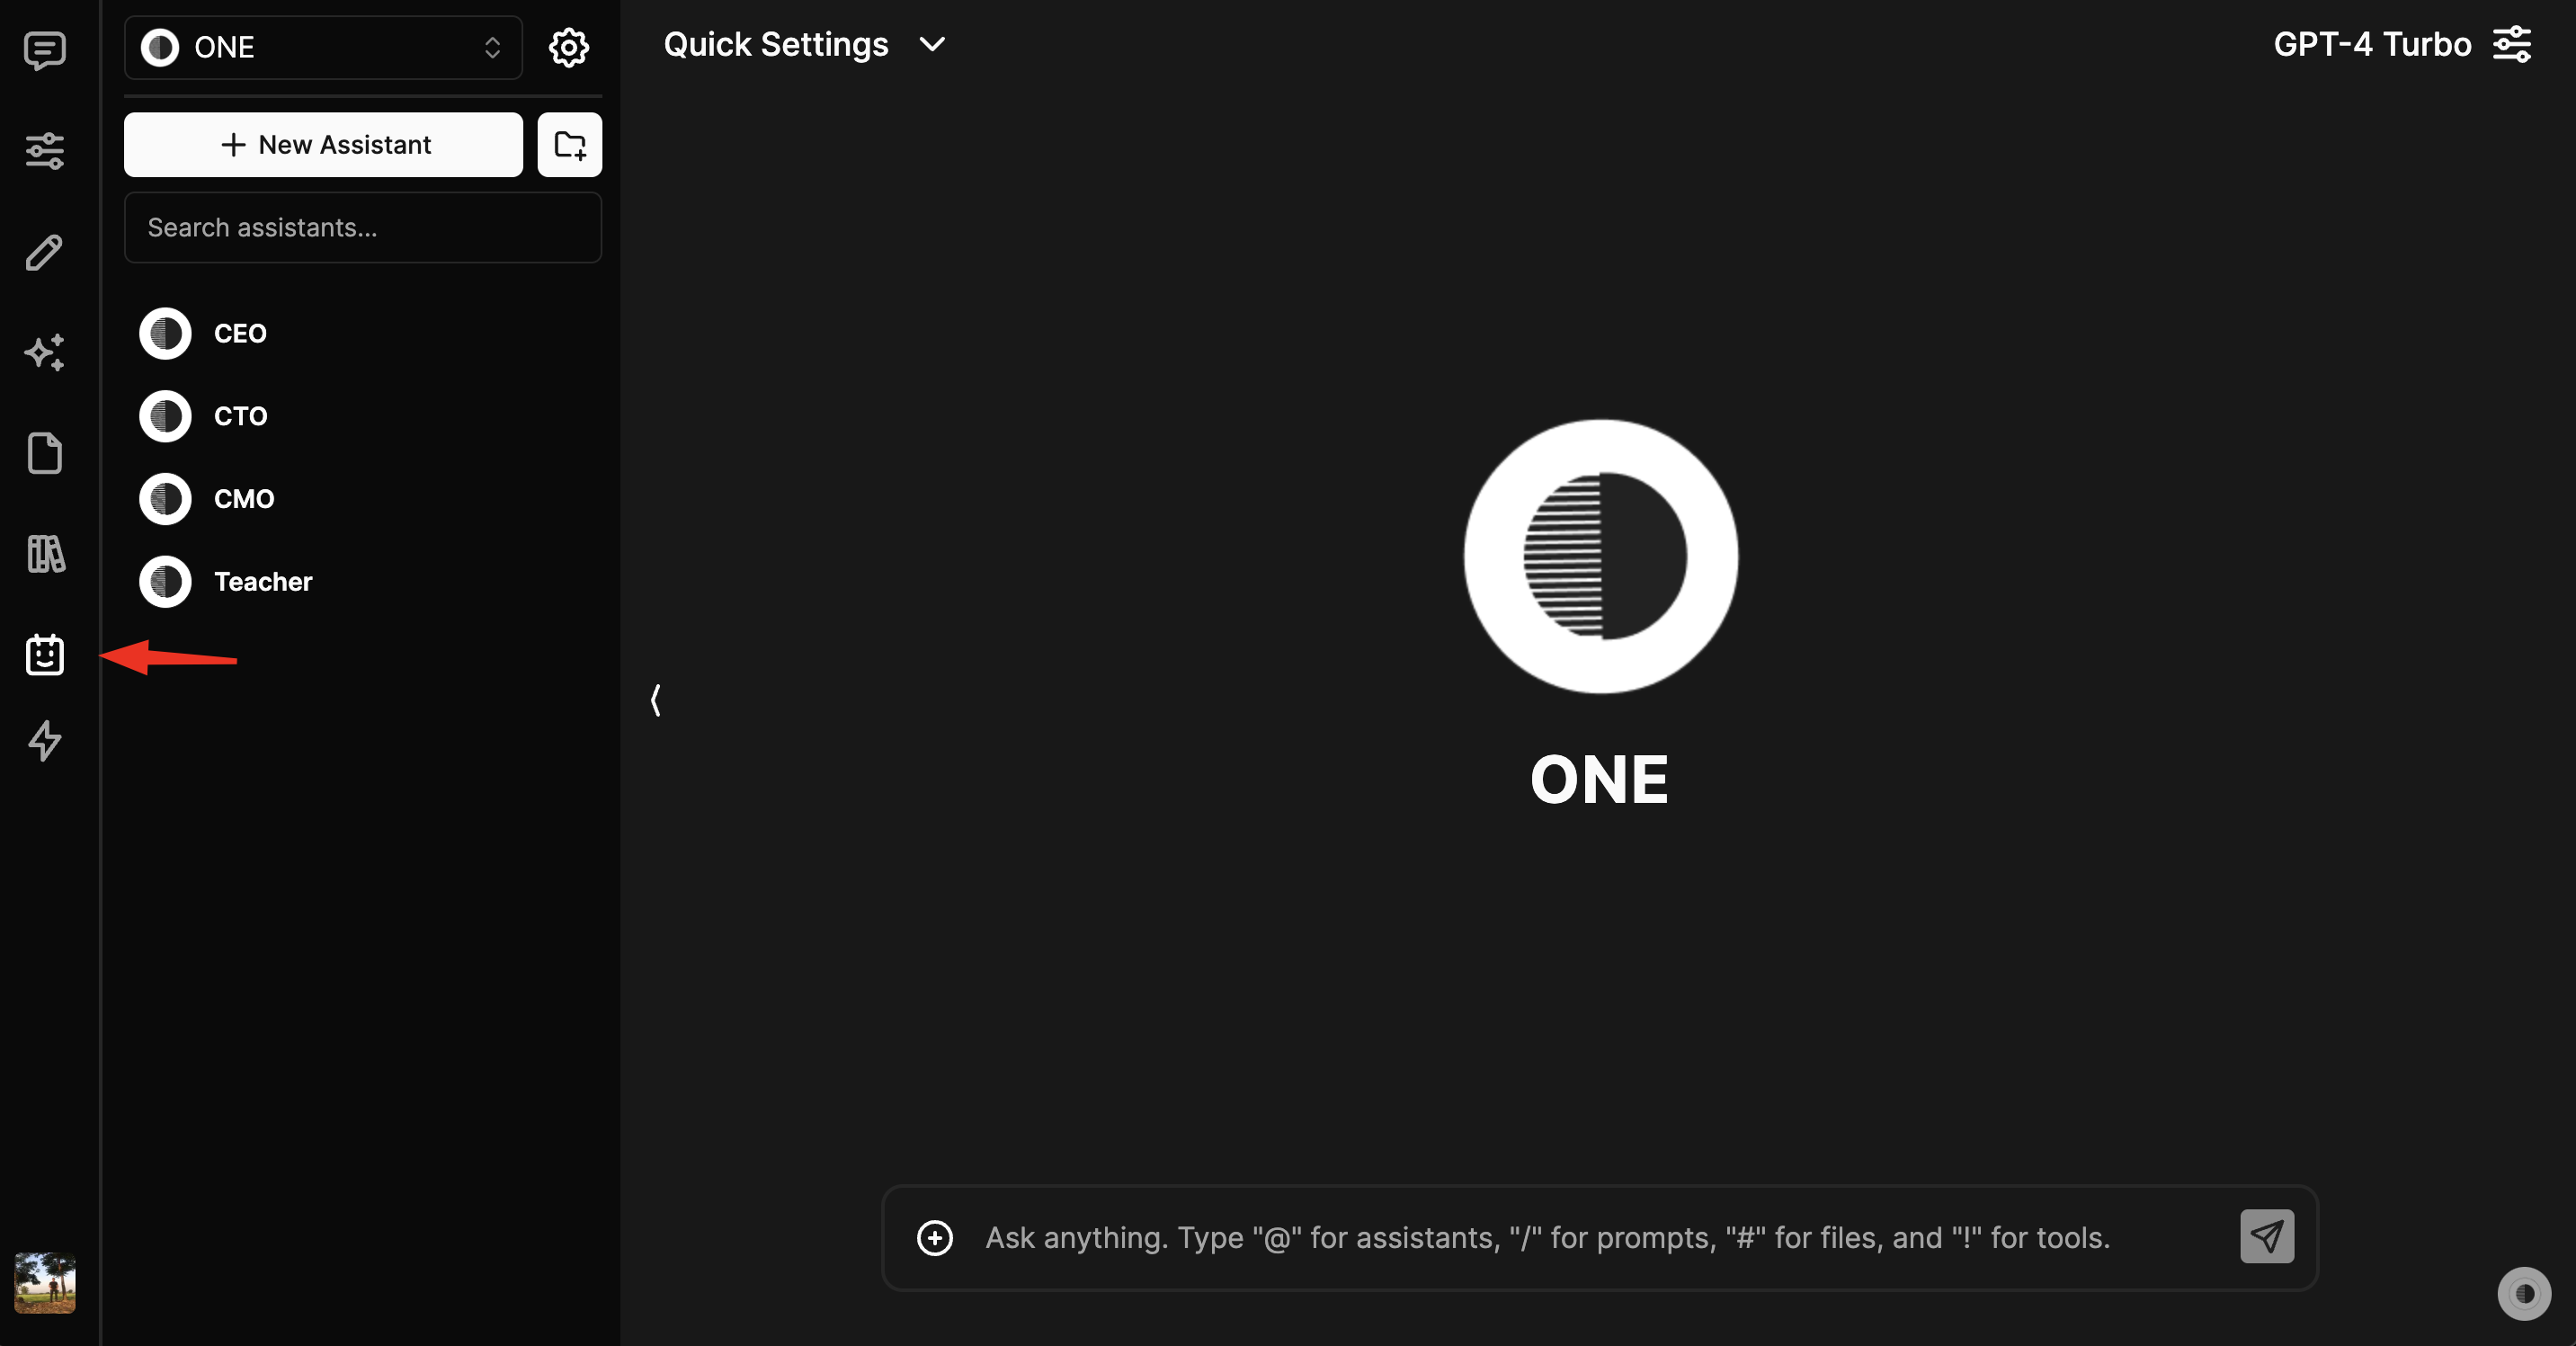
Your Assistants are like having a team of smart helpers ready to take on those time-consuming tasks that keep you from focusing on the big picture. Imagine not having to worry about the small stuff because you have these digital helpers that can manage emails, organize your files, or even help with customer questions. Setting them up is easy: just go to the side menu, find where it says “assistants,” and you’re on your way to creating a new helper. You can give each assistant its own name and job description, and even choose a picture for it, making it easier to remember who does what. You decide how they talk and what tasks they can handle, making sure they fit right into your workflow.
Using Your Assistants is as straightforward as chatting with a friend. Select them from a menu and type a quick note and they jump into action.
1. Accessing the Assistant Management Interface
- Open the sidebar and navigate to the section specifically designed for managing assistants.

2. Creating a New Assistant
- Click “+ New Assistant”.
- Upon initiating the process, you’ll likely be asked to fill in several fields:
- Name: Assign a name to your assistant. Choose a name that reflects the assistant’s purpose or personality.
- Description: Briefly describe the assistant’s role or functionalities. This helps clarify the purpose of the assistant at a glance.
- Image: Some applications allow or require you to select an image for your assistant. This could be done via an
ImagePickercomponent where you can upload an image or select from existing ones. - Chose the model Configure chat settings like the model, prompt, temperature, and context length. These settings dictate how your assistant will generate responses.
- Select Advanced Settings Configure chat settings like the temperature, context length, if chats include profile context and workspace instructions. These settings dictate how your assistant will generate responses.
- Files and Collections Add files and collections to your assistant. These files and collections will be available to your assistant when it is used.
- Tools Select tools to add to your assistant. Tools are third-party services that can be integrated into your assistant.
Complete the assistant creation by clicking a “Create,” Your new assistant should now be listed within your application’s assistant section.
3. Using Your Assistant
- Type @ and the assistant name in a chat window to initiate the assistant. or
- Select it from the quick settings menu.
4. Monitoring and Maintenance
- Regularly review the performance and accuracy of your assistant. Make adjustments to the configuration as needed based on feedback or changes in requirements.
- Keep the assistant’s resources, such as linked files or tools, updated to maintain its functionality and relevance.
5. Deleting an Assistant
- If an assistant is no longer needed, look for a “Delete” option within the assistant configuration or settings menu. Confirm the deletion as prompted.
- Please note that deleting an assistant is irreversible and should be done with consideration of any dependencies or ongoing uses.
